.jpg)
Key Takeaways:
- Repairing cracks in concrete is important to maintain the structural integrity of the surface.
- It is essential to assess the severity of cracks and identify their underlying causes before proceeding with repairs.
- Gathering the necessary tools and materials, such as epoxy compounds, latex patching material, and mortar mix, is crucial for effective crack repair.
- Preparing the cracked area by clearing loose debris and cleaning the crack surface promotes proper adhesion of the repair product.
- Choosing the right concrete repair product based on the type and size of the crack ensures durable and long-lasting repairs.
- Applying the chosen repair product, whether it’s epoxy, latex patching material, or mortar mix, should be done carefully following the manufacturer’s instructions.
- Smoothing the patched surface and allowing sufficient time for curing are important for achieving a seamless and strong repair.
- To prevent future cracks, it is advisable to avoid heavy loads, use expansion joints, maintain cleanliness, apply concrete sealer, and avoid the use of de-icing salts.
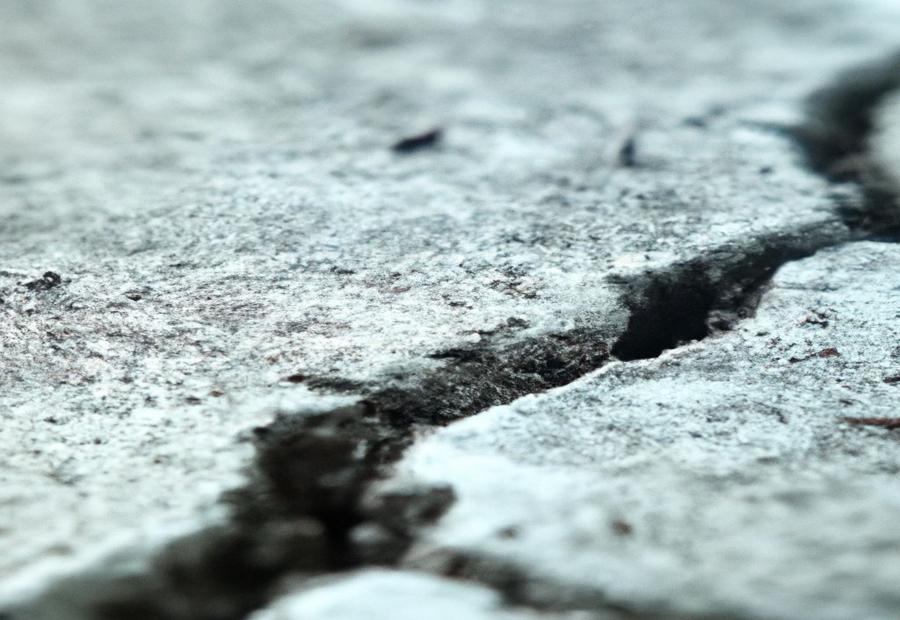
Photo Credits: Build-Wire.Com by Tyler Hernandez
Cracks in concrete can be a common and concerning issue. In this section, we will discuss the importance of repairing these cracks and provide a brief overview of the repair process. We’ll explore the potential consequences of neglecting concrete cracks and highlight the necessary steps involved in effectively addressing this issue. By understanding the significance of repairing cracks in concrete, you’ll be equipped with the knowledge needed to maintain the structural integrity and safety of your concrete surfaces.
Importance of Repairing Cracks in Concrete
Repairing cracks in concrete is extremely essential. Left untreated, cracks, big or small, can cause more damage. To identify the cause of the cracks, an assessment process is needed.
Collect the right tools and materials for the repair. Clear the crack of any loose debris and clean its surface. This will allow the repair product to bond with the concrete.
Choose the right concrete repair product for the size and type of crack. For instance, epoxy compounds, latex patching material, or mortar mix may be recommended. Use the products properly for best results.
It is also important to smooth and cure the repaired surface. This will provide a seamless finish. Allow sufficient time for curing to optimize bonding strength and durability.
To prevent future cracks from forming, several measures can be taken. These include avoiding heavy loads, using expansion joints, keeping the area clean, applying concrete sealer, and avoiding de-icing salts.
The importance of repairing cracks in concrete is clear. With the right steps and materials, you can make your cracks a thing of the past. For more information on how to repair cracks in concrete, check out How to Repair Cracks in Concrete.
Overview of the Repair Process
Assessing the severity of cracks is essential to repair concrete. Hairline or structural cracks? Identify the cause: shrinkage, settlement, or loading.
Gather tools and materials like wire brushes, trowels, epoxy, patching material, or mortar mix, depending on the size and type of crack.
Prepare the cracked area by clearing and cleaning it. Smooth out the patched surface, and allow time to cure.
Prevent future cracks: avoid heavy loads, use expansion joints, clean regularly, seal, and avoid de-icing salts.
Assessing the Severity of Cracks
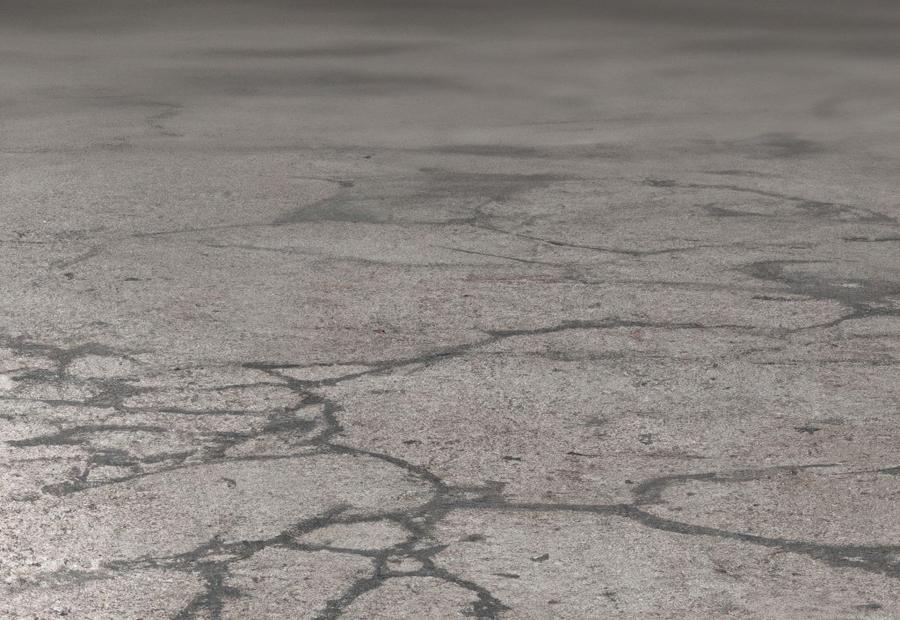
Photo Credits: Build-Wire.Com by Joshua Hernandez
When it comes to repairing cracks in concrete, assessing the severity of these cracks is crucial. In this section, we will dive into differentiating hairline cracks from structural cracks and identifying the underlying causes behind them. By understanding the nature and extent of the cracks, we can determine the most effective repair methods and ensure the longevity and stability of the concrete structure.
Differentiating Hairline Cracks from Structural Cracks
Hairline cracks in concrete need to be differentiated from structural cracks. Hairline cracks are thin and shallow. They are typically less than 0.1mm in width. These cracks don’t present a threat to the structural integrity. Structural cracks, on the other hand, are wider and deeper. They indicate underlying issues with the stability of the concrete.
Differentiating between the two is essential. It determines if a patching product like epoxy or latex is enough or if more extensive repairs with mortar mix are necessary. Properly identifying and addressing the type of crack ensures the integrity and durability of the structure.
Visible characteristics may not be enough to differentiate between hairline and structural cracks. In some cases, an assessment by a professional engineer is required. Seeking expert advice ensures the right repair method based on an accurate evaluation.
Studies conducted by experts in the construction industry show that differentiating the two requires careful observation and analysis based on size, width, depth, and pattern.
Identifying the Underlying Causes of Cracks
Cracks in concrete can be tricky to fix, so it’s key to know the root causes. Hairline cracks are thin and shallow, while structural cracks are wider and deeper. To understand the cause, you must look at the conditions around the crack – like temperature, moisture, and soil movement. Also, the pattern and location of the crack can give clues. Analyzing these factors is the only way to make the right repairs and prevent future damage. To get the job done, you’ll need more than just a sense of humor!
Gathering the Necessary Tools and Materials
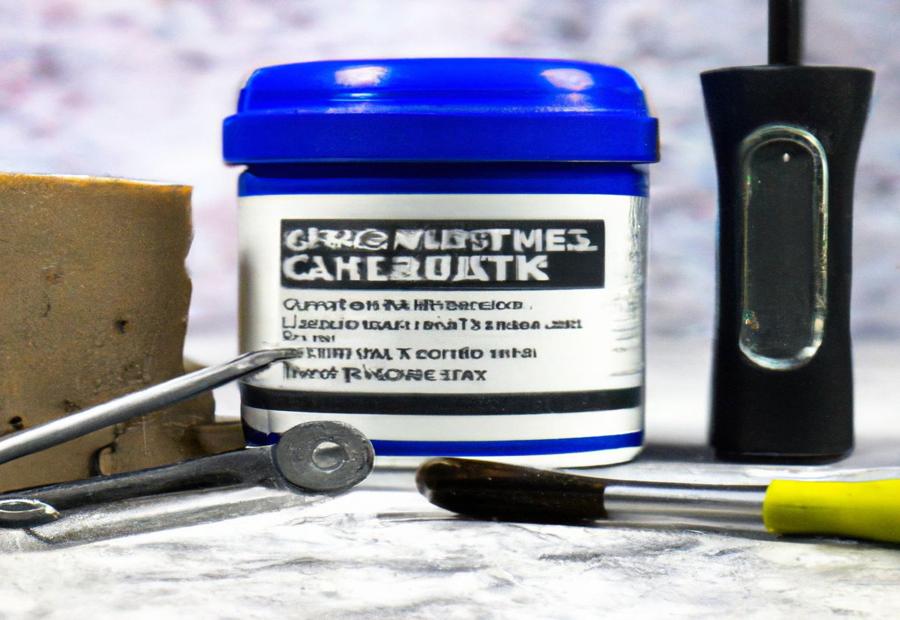
Photo Credits: Build-Wire.Com by Vincent Gonzalez
To successfully repair cracks in concrete, the first step is gathering the necessary tools and materials. This section will guide you through the list of tools required for concrete crack repair and recommend the materials you need to ensure a durable and long-lasting solution. With the right tools in hand and quality materials at your disposal, you’ll be well-prepared to tackle any concrete crack repair project.
List of Tools for Concrete Crack Repair
Crack repair for concrete can be challenging. The right tools are essential for success. Depending on the size and severity of the crack, tools may vary. Five key tools are:
- Chisel or screwdriver: Clear loose debris or excess material from the crack.
- Wire brush: Clean the crack surface, removing dirt or loose particles.
- Epoxy injection gun: If using epoxy compounds, this applies product evenly.
- Trowel: For larger cracks or chipped edges, use this to apply and smooth mortar mix.
- Safety equipment: Crucial to protect yourself when using concrete repair products.
These tools are necessary, but other tools may be needed depending on the situation. Consult professionals for the best advice. Technique and preparation are also key to successful concrete crack repair. Follow instructions and take precautions for optimal results.
Essential tools and expert advice will help you patch up concrete cracks fast, like a superhero!
Recommended Materials for Concrete Crack Repair
For successful concrete crack repair, it’s essential to use the right materials. Epoxy compounds are great for hairline cracks as they hold strongly. Latex patching material is ideal for small cracks; it’s flexible and easy to apply. For bigger cracks or chipped edges, mortar mix is best. It provides more structural support.
Tools like trowels and brushes may be necessary. Consider the size of the crack and its causes when selecting a repair product. This will help you repair concrete cracks and make sure your structures last.
Preparing the Cracked Area for Repair
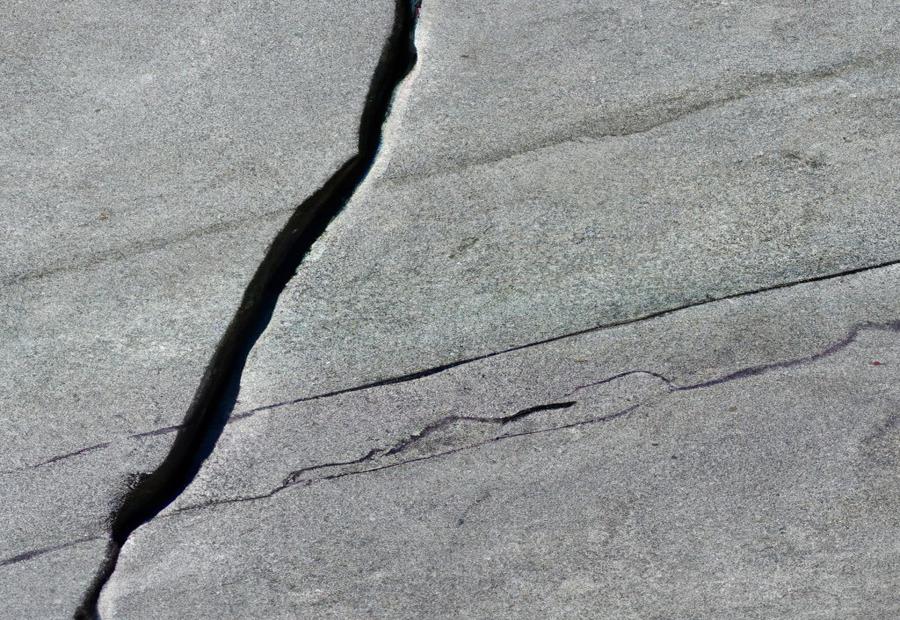
Photo Credits: Build-Wire.Com by Eugene Ramirez
Preparing the cracked area for repair is crucial to ensure a successful outcome. In this section, we will focus on clearing the crack of any loose debris and thoroughly cleaning the crack surface. This enables proper adhesion and allows the repair material to effectively seal the crack, preventing any further damage.
Clearing the Crack of Loose Debris
To ensure a successful repair, it is important to clear away loose debris from the crack in your concrete. Neglecting to remove this debris can compromise the effectiveness of the repair and result in a less aesthetically pleasing finish. To clean the crack, follow these steps:
- Sweep away dirt, dust, and small particles with a brush or broom. This will aid in the proper adhesion of the repair material.
- Vacuum or use a wire brush to remove larger pieces like pebbles or chunks of concrete. Remove any obstacles for filling and leveling.
- Use a compressed air gun or canned air duster to blow out any remaining fine particles.
- Wipe down and clean the crack surface with a damp cloth or sponge to create an optimal bonding environment.
It is also essential to identify and address any underlying causes, such as water infiltration or structural issues, for long-term durability. By following these steps, you can achieve a successful outcome in your concrete restoration project.
Cleaning the Crack Surface
When it comes to repairing cracks in concrete, cleaning the crack surface is essential. This involves getting rid of any loose particles. To do this effectively, do the following:
- Clear the Crack: Use a brush, vacuum, or compressed air to do this. It’s important for a stable base for the repair product.
- Wet Cleaning: Use water to wet the surface and get rid of dirt and contaminants.
- Cleaning Solution: Apply a commercial cleaner or mild detergent+water. Scrub the surface to remove grease, stains, and oil.
- Rinse and Dry: Rinse the cleaned area with clean water. Make sure to remove all traces of the cleaning solution. Let the surface dry before the repair process.
Cleaning the crack surface is important for proper adhesion and long-lasting results. Pay attention to every step of the process and use effective cleaning methods and solutions. This will guarantee the right patching material and a durable solution for any cracks.
Choosing the Right Concrete Repair Product
Photo Credits: Build-Wire.Com by William Taylor
When it comes to repairing cracks in concrete, selecting the appropriate concrete repair product is crucial. In this section, we’ll explore different options to help you make an informed decision. From epoxy compounds ideal for hairline cracks to latex patching material for small cracks, and mortar mix for larger cracks or chipped edges, we’ll provide insights that will guide you towards choosing the right product for your specific needs.
Epoxy Compounds for Hairline Cracks
Epoxy compounds are made to fix hairline cracks in concrete. They are good at penetrating narrow cracks and giving a strong, durable seal. They stick well to the concrete surface, avoiding further cracking or water entering. They are also resistant to chemicals, so they are great for places with harsh substances. Plus, they can carry heavy loads and give structural stability after repair.
When selecting an epoxy compound, you need to think about its suitability for the specific crack and its cause. Different formulas exist for different kinds of hairline cracks, like those caused by shrinkage or settling. Also, you must obey the manufacturer’s instructions for correct adhesion and effectiveness.
In conclusion, epoxy compounds are great for repairing hairline cracks in concrete. By picking the right formula and using it correctly, the repair will be effective and long-lasting. With their excellent adhesive properties and resistance to chemicals and heavy loads, epoxy compounds are a reliable way to mend hairline cracks in concrete.
Latex Patching Material for Small Cracks
Latex patching material is a super solution for mending small concrete cracks. It provides a long-lasting and flexible seal. This prevents further damage and keeps the structural integrity of the concrete surface.
Let’s look at the table for understanding the advantages and usage of latex patching material:
| Material | Advantages | Application |
|---|---|---|
| Latex Patching Material | – Flexible to accommodate movements in small cracks – Forms a strong bond with the existing concrete surface |
– Great for hairline cracks and small fissures – Can be used inside or outside |
Latex patching material is the ideal pick for repairing small concrete cracks. It can adapt to the crack’s natural movements, reducing the risk of it happening again. Plus, it establishes a strong bond with the surrounding concrete, offering long-term results.
For successful results using latex patching material, it’s important to follow the instructions. You can guarantee that your repairs are successful and won’t cause more harm to your concrete surfaces.
Don’t miss out on using latex patching material for small crack repairs. Its flexibility and durability make it a great choice that’ll increase the lifespan of your concrete structures. Take action now to address any small cracks and secure your property investment.
Don’t rebuild the driveway entirely! Instead, just mend the imperfections with mortar mix – the perfect concrete fixer-upper.
Mortar Mix for Larger Cracks or Chipped Edges
When handling bigger splits or chipped edges in concrete, mortar mix is advisable. This unique product, mortar mix for bigger cracks or chipped edges, furnishes the required strength and resilience to renew the structural soundness of the broken area. By properly utilizing and letting it set, you can effectively mend and avert more decay.
- Clear away free material and clean the surface where the crack is.
- Pick a proper mortar mix designed for bigger cracks or chipped edges.
- Spread the mortar mix uniformly into the crack, ensuring full coverage and adhesion.
- Smooth out the patched surface for a consistent finish.
If you heed these steps, you can efficiently patch bigger cracks or chipped edges in concrete using a mortar mix for bigger cracks or chipped edges. The application of this particular product will make sure your mended areas regain their strength and steadiness. Don’t forget to give sufficient time for curing before putting the restored area under heavy loads or other strain factors.
Applying the Chosen Repair Product
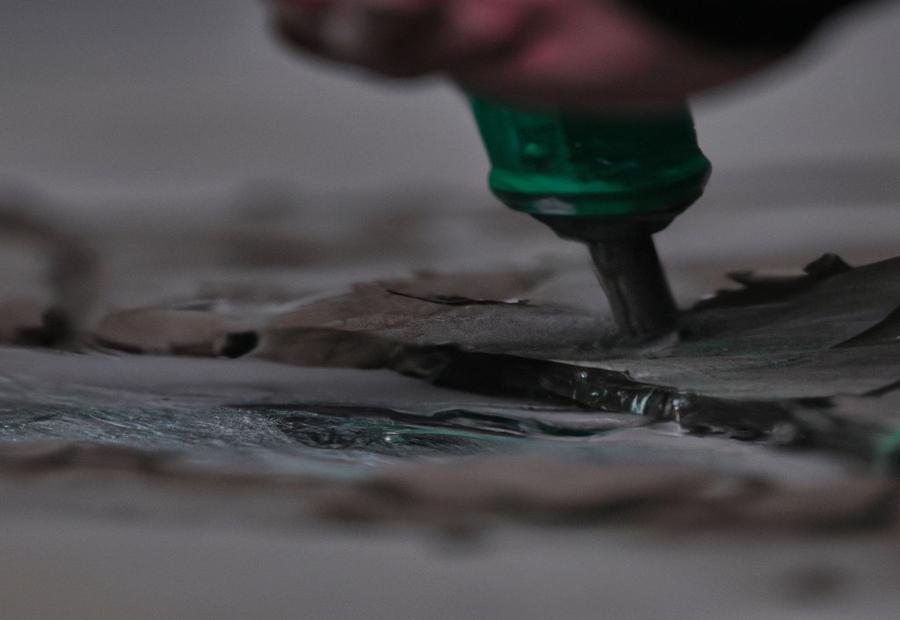
Photo Credits: Build-Wire.Com by Christian Lopez
Applying the chosen repair product is a crucial step in fixing cracks in concrete. In this section, we’ll look at two specific techniques: utilizing epoxy or latex patching products for hairline cracks and using mortar mix for larger cracks. Discover effective methods to address various crack sizes and understand the advantages each product brings to ensure a successful concrete repair.
Applying Epoxy or Latex Patching Product for Hairline Cracks
For repairing hairline cracks in concrete, epoxy compounds or latex patching materials are recommended. They can penetrate the narrow cracks to restore the surface’s integrity. Here’s a four-step guide for applying the products:
- Remove loose debris: Use a wire brush or an air compressor to take away dust and particles that could block the adhesion of the repair material.
- Clean the crack surface: Make a water-detergent mixture and use a stiff-bristle brush or a pressure washer. Afterward, rinse off the soap and let the crack dry.
- Apply epoxy or latex: Put a sufficient amount of the product into the crack with a putty knife or trowel. Make sure it covers and bonds with the concrete.
- Smooth and finish: Use a trowel or putty knife to level the patched area. Let it cure as per the manufacturer’s instructions before using it.
Fact: Proper tools and materials are essential for a successful repair.
Applying Mortar Mix for Larger Cracks
To fix bigger cracks in concrete properly, using the right mortar mix is essential for stronger and longer-lasting repairs. Here are the steps to take:
- Step 1: Clear & Clean the Crack Surface
- Remove any loose debris using a wire brush or chisel.
- Thoroughly clean the crack with a power washer or water & detergent.
- Step 2: Mix & Apply the Mortar Mix
- Prepare the mortar mix as directed by the manufacturer.
- Using a trowel, put the mortar mix into the crack and make sure it fills the gap. Compact it by pushing it firmly against the existing concrete.
- Step 3: Smooth & Finish
- Use a tool, like a trowel or float, to level & even out the mortar mix surface.
- Let it cure based on manufacturer guidelines before subjecting it to loads or traffic.
Remember that each repair situation can be different. Get professional help or follow product instructions for best results.
Also, take these measures to prevent & maintain larger cracks in concrete:
- Avoid heavy loads on repaired areas.
- Install expansion joints for movement & reduce future cracking.
- Regularly take out debris & prevent accumulation of materials that can damage the concrete.
- Use a concrete sealer to protect the repaired area from moisture & potential cracks.
- Avoid de-icing salts, as they can harm concrete & cause cracking.
By taking these preventative measures & properly applying mortar mix, you can prolong the lifespan of your concrete surfaces & reduce future cracks.
Smoothing and Curing the Repair
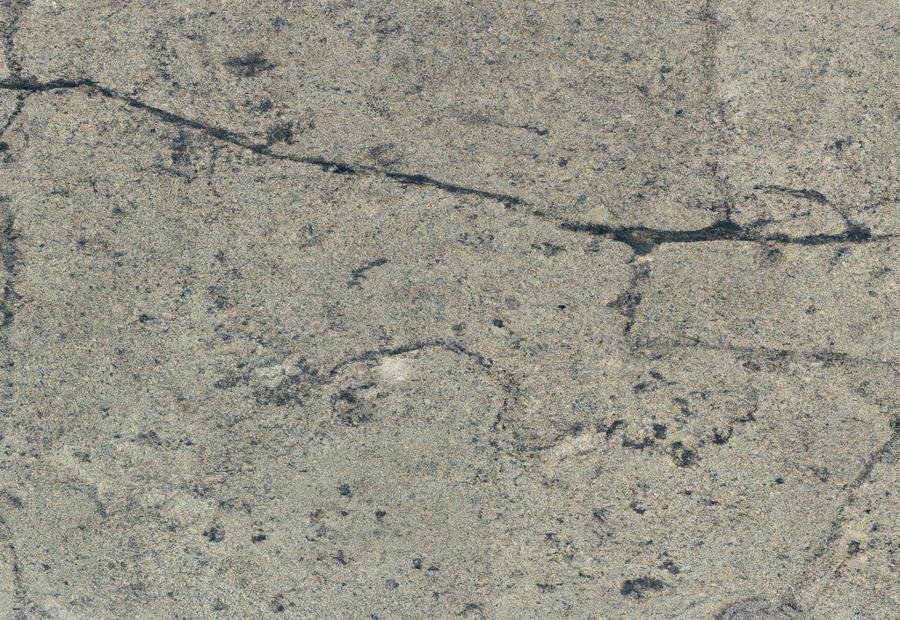
Photo Credits: Build-Wire.Com by Joshua Baker
To achieve a seamless concrete repair, it’s crucial to focus on smoothing the patched surface and allowing sufficient time for curing. By mastering these sub-sections, you can ensure a durable and visually appealing outcome. In the art of concrete repair, the key lies in the meticulous process of obtaining a flawlessly smooth surface and being patient during the curing phase. Let’s dive into these crucial steps to master the art of smoothing and curing the repair.
Smoothing the Patched Surface
As the concrete repair process nears its end, one step is to smoothen the patched surface. For the repaired area to blend with the surrounding concrete, both in look and functioning, it needs to be levelled and finished uniformly.
Different tools, such as trowels, putty knives, or hand floats, can be used for the job. The tool should let you control it precisely to evade any rough patches.
After applying the chosen repair product – epoxy or mortar mix – it needs to be spread evenly over the crack or damaged area. This will ensure any unevenness or gaps are filled and smoothed out.
Care must also be taken to create an even texture. This is done by doing consistent strokes with proper blending, avoiding visible lines or textural differences.
Smoothing is not only essential for aesthetics, but also helps to prevent future cracks developing. An even surface helps to distribute load and reduce stress concentrations.
By taking time to smoothen the patched surface, it’s possible to boost its visual appeal and durability. A well-finished repair will restore structural integrity and avert further damage or deterioration. So give your concrete repairs the attention they deserve: make sure they have a smooth finish that stays strong.
Remember, those who wait will get good results – and that includes a fully cured concrete repair.
Allowing Sufficient Time for Curing
Curing is a must for concrete repair. It’s when the repair material dries and hardens, making it tough and long lasting. To ensure enough curing time:
- Apply repair product as per instructions.
- Don’t put heavy loads on repaired area during curing period.
- Keep repaired area safe from extreme temps, too much moisture, and direct sunlight.
- Allow ample time for full curing before using or putting extra stress.
Watch the curing process closely. Check if anything affects curing time and take necessary precautions. This will help the repair last.
Remember, quick curing can weaken repairs and shorten the lifespan of concrete structures. So don’t skip the curing step!
Prevention Tips for Future Cracks
Photo Credits: Build-Wire.Com by Larry Hall
To avoid future cracks in your concrete, implementing prevention tips is key. By understanding how to avoid heavy loads, properly using expansion joints, maintaining cleanliness, applying concrete sealer, and steering clear of de-icing salts, you can significantly prolong the lifespan of your concrete surfaces. With these measures in place, you’ll ensure the durability and longevity of your concrete, saving you time and money on repairs in the long run.
Avoiding Heavy Loads on the Concrete Surface
It’s critical to dodge heavy loads on the concrete surface in order to keep its structural soundness and prevent further damage. Applying too much weight or pressure can result in splits, weakening the concrete and impacting its longevity. By recognizing the importance of not having heavy loads, you can make sure the durability of your concrete surfaces. Here’s a 6-step guide to help you out:
- Estimate load-bearing capacity: Before placing anything weighty on a concrete surface, it is essential to determine the load-bearing capacity of the area. Ask an engineer or look at structural design requirements to discover the maximum weight that the concrete can support securely.
- Distribute loads evenly: When placing heavy items on a concrete surface, spread the weight equally. This helps to reduce stress concentrations and lessen the chance of cracking or deformation.
- Use load-distribution devices: If you need to put unusually heavy loads on a concrete surface, think of using load-distribution devices like rubber mats or metal plates. These devices help spread the weight over a larger area, reducing the pressure at specific points and preventing cracks.
- Avoid dragging or dropping heavy objects: Dragging or dropping heavy objects straight onto a concrete surface can cause serious harm. Rather, use correct lifting techniques and padding materials (like plywood) under heavy items to stop direct contact with the concrete.
- Reinforce weak areas: Locate any weak spots in your concrete surface and reinforce them before subjecting them to heavy loads. This may include filling cracks, applying reinforcing bars or mesh, or even considering extra structural measures if necessary.
- Regular maintenance and monitoring: Do frequent examinations of your concrete surfaces to identify any signs of harm or disintegration that could weaken their load-bearing capacity. Instantly address any issues through repair or reinforcement to prevent further damage.
It’s important to note that avoiding heavy loads on a concrete surface is only one factor of avoiding cracks and making sure its durability. Following these directions, alongside the other proposals mentioned in this article, will help you maintain a structurally strong and durable concrete surface.
Using Expansion Joints
Using expansion joints is key for concrete repair. It involves installing flexible materials at specific locations, to cope with movement from temperature, moisture, and shrinkage. This relieves stress on the concrete, lowering the chance of cracking.
The key points to remember are:
- Purpose: Accommodate movement and prevent cracking.
- Materials: Rubber or neoprene.
- Installation: At intervals based on design.
- Location: Corners, edges, and transitions.
- Maintenance: Inspections and replacement if damaged.
It’s essential to choose the right type and size of expansion joint, considering project specs, movement, and environmental factors. Proper installation of expansion joints means they’ll work right, allowing movement without damaging the concrete.
For example, a parking lot was built and cracked in its first winter due to temperature changes. The concrete repair specialist found expansion joints weren’t installed properly. The slabs couldn’t expand and contract, leading to cracking. With proper installation and repairs, including replacing damaged sections, the parking lot was restored and more resilient to future cracks.
Maintaining Cleanliness and Removing Debris
Cleanliness and debris removal are essential for a successful concrete crack repair. If dirt or loose pieces stay in the crack, the repair process won’t be effective and the concrete could be damaged. Here’s how to do it:
- Start by removing any debris from the crack with a stiff brush or air blower.
- Use a wire brush or scraper to get rid of any tough dirt or residue on the crack walls. Make sure the surface is clean before going further.
- Wash the cracked area with water. Use a hose or sprayer with enough pressure to take away all dirt and contaminants.
- Let the cracked area dry completely before proceeding with the repair. Dryness helps the repair product stick better and last longer.
Also, cleanliness and debris removal should be done frequently to prevent future cracks in concrete. Regular sweeping or washing can remove dirt and other sources of harm. By keeping the surfaces clean, the concrete won’t be stressed as much, lessening the probability of cracks forming.
Follow these guidelines for maintaining cleanliness and removing debris from concrete and you can extend its life and reduce the need for repairs. Finish with a concrete sealer and give those cracks a fight!
Applying Concrete Sealer
- Prepare the Surface: Clear off any debris or dirt from the cracks and make it dry.
- Select the Right Sealer: Pick the best sealer, according to your project needs. Options include penetrating sealers, acrylic sealers, or epoxy sealers. Consider factors such as location, foot traffic, and look.
- Apply the Sealer: Mix and apply as the manufacturer says. Use a brush or roller to uniformly coat the whole area with the sealer. Don’t miss any gaps or streaks.
- Allot Ample Drying Time: Let the sealer dry properly before stepping on it. The drying time depends on temperature and humidity.
- Maintain Regular Maintenance: For long-term effectiveness, clean and re-apply as needed. Inspect for any signs of deterioration and handle them quickly.
- Safety Measures: To be safe, wear protective gear, work in a well-ventilated area, and avoid contact with skin or eyes.
Conclusion: Applying a sealer boosts the looks and protects against moisture damage. Follow these steps carefully for successful application and long-lasting durability. Keep salt away from the cracks – to keep your concrete from turning into a cheesy nacho!
Avoiding the Use of De-icing Salts
De-icing salts, like rock salt or calcium chloride, should be avoided when patching cracks in concrete. These salts can have a bad impact on the concrete’s strength and help create new cracks.
Using de-icing salts on concrete surfaces can speed up corrosion and cause the concrete to deteriorate. The salts can get into the concrete’s pores and make cracking more likely. The salts can also make freeze-thaw cycles when they dissolve in water, further damaging the concrete.
Rather than using de-icing salts, alternative methods for ice and snow removal should be employed. For example, using sand or gravel for traction instead of salt. Shoveling or using a snow blower is another way to get rid of snow without needing de-icing salts.
In addition to avoiding de-icing salts, it’s important to maintain and repair any existing cracks in the concrete. This could include filling smaller cracks with latex patching material or using mortar mix for bigger cracks or chipped edges. Sealing and maintaining expansion joints can help stop future cracks from forming.
By following these tips and avoiding de-icing salts, individuals can protect their concrete surfaces from further damage and ensure its longevity. Taking proactive measures to take care of concrete will not only save money on repairs, but also keep its structural integrity over time.
Conclusion
Photo Credits: Build-Wire.Com by Jack Wright
- To repair concrete cracks, there are certain steps to follow. First, identify the type of crack. Is it a hairline crack or larger?
- Then, examine the depth and width of the crack. This helps decide the right filling technique.
- Next, clean the area thoroughly. Remove any loose debris, dust, or dirt. A wire brush or vacuum cleaner can help.
- Following this, fill the crack with a suitable sealant, like epoxy or polyurethane. Apply it carefully, making sure the crack is completely filled.
- Finally, apply a protective coating. This will protect the repair area and enhance its appearance.
With these steps, the repaired concrete will be strong, durable, and aesthetically pleasing.
Some Facts About How to Repair Cracks in Concrete:
- ✅ Cracks in concrete indicate an underlying problem caused by soil instability. (Source: Team Research)
- ✅ Most cracks are “active” and will reappear unless the underlying issue is fixed. (Source: Team Research)
- ✅ Sealing cracks with a flexible material is important to prevent moisture intrusion. (Source: Team Research)
- ✅ Choosing the right crack repair product is crucial. (Source: Team Research)
- ✅ Polyurethane-based products require acetone or similar chemicals for cleaning but provide superior durability and longevity. (Source: Team Research)
FAQs about How To Repair Cracks In Concrete
FAQ 1: How do I repair cracks in concrete using liquid filler?
To repair cracks in concrete using liquid filler, you will need to follow these steps:
- Prepare the cracked area by removing any loose or crumbling concrete with a small hammer and chisel.
- Thoroughly clean the crack with a wire brush or pressure washer to remove debris and water.
- Choose a suitable liquid filler, such as Sakrete Crack Filler or a concrete caulk.
- Using a caulking gun or bottle with an applicator tip, carefully fill the crack with the liquid filler.
- Smooth the surface of the filled crack with a putty knife or trowel if necessary.
- Allow the filler to cure according to the manufacturer’s instructions.
- Once the filler is cured, you can paint or seal the surface if desired.
FAQ 2: What type of product should I use to repair cracks in concrete with a trowel?
For repairing cracks in concrete with a trowel, you can use a suitable concrete patching compound. Here are the steps to follow:
- Prepare the cracked area by chiseling the crack with a hammer and masonry chisel to widen the base and remove any loose material.
- Clean the crack with a wire brush or pressure washer to remove debris and water.
- Choose a suitable concrete patching compound, such as Sakrete Concrete Repair or a mortar mix made of Portland cement, masonry sand, and water.
- Trowel the patching compound into the crack, filling it up to the surrounding concrete surface.
- Smooth the surface of the patch with the trowel and texture it with a dry paintbrush if desired.
- Allow the compound to cure and then paint or seal the surface if desired.
FAQ 3: How can I prevent water seepage and future cracks in concrete?
To prevent water seepage and future cracks in concrete, you can follow these tips:
- Avoid heavy loads on the concrete surface.
- Use expansion joints to allow for movement.
- Keep the concrete surface clean and free of debris.
- Apply a concrete sealer to protect the surface from moisture and chemicals.
- Avoid using de-icing salts on the concrete during winter.
FAQ 4: Can I use Sakrete Crack Filler for repairing wide concrete cracks?
Yes, Sakrete Crack Filler is suitable for repairing wide concrete cracks up to 3/8″ deep and 1/2″ wide. However, for cracks larger than that, it is recommended to use polyurethane-based products like Sakrete Non-Sag Sealant or Sakrete Self-Leveling Sealant, which offer better performance. Make sure to follow the manufacturer’s instructions for proper application.
FAQ 5: Is painting the surface necessary after repairing cracks in concrete?
It depends on your preference. If you want to hide the patched area completely and achieve a uniform appearance, you may need to paint the surface with an appropriate concrete paint. However, if aesthetics are not a concern, and the repaired area blends well with the rest of the concrete, painting may not be necessary.
FAQ 6: How can I repair cracks in new concrete?
To repair cracks in new concrete, you can follow these steps:
- Prepare the cracked area by removing any loose or crumbling concrete with a small hammer and chisel.
- Thoroughly clean the crack with a wire brush or pressure washer to remove debris and water.
- Choose a suitable crack repair product, such as a cementitious product or a concrete patching compound.
- Apply the repair material into the crack, following the manufacturer’s directions.
- Smooth the surface of the repair material with a putty knife or trowel.
- Allow the material to cure according to the manufacturer’s instructions.
- Inspect the repaired area and make any necessary touch-ups.