
Building custom shelving for your home offers numerous benefits, from maximizing storage space to enhancing the aesthetics of your living environment. With a DIY approach, you have the opportunity to tailor the shelving to your specific needs and space. This comprehensive guide will walk you through the step-by-step process of building and installing custom shelving for your home. Beginning with assessing your needs and space, you’ll learn how to determine what you need to store, measure the space for your shelving, and identify your design preferences.
Next, you’ll gather the necessary tools and materials required for the project. By understanding the tools needed and materials required, you can ensure you have everything on hand before getting started.
Once you have your tools and materials, you’ll move on to designing your custom shelving. This involves sketching out your design and considering the aesthetics and functionality of the shelving.
With the design finalized, you’ll learn how to build the custom shelving. This includes preparing the wood or other materials, cutting and assembling the shelving components, and sanding and finishing the shelving to ensure a professional result.
After the shelving is built, you’ll move on to installing it in your space. This section covers how to locate wall studs or use anchors, and how to securely attach the shelving to the wall.
Finally, you’ll discover how to maintain and upgrade your custom shelving over time. This includes tips for cleaning and organizing the shelving, as well as suggestions for adding additional features or adjusting the design as your needs evolve. Whether you’re a DIY enthusiast or a beginner, this DIY guide will provide you with all the information you need to successfully build, install, and maintain custom shelving for your home.
Key takeaway:
- The Benefits of Custom Shelving: Custom shelving allows for maximizing storage space in your home, making it easier to keep things organized and reducing clutter.
- Assessing Your Needs and Space: Understanding what you need to store and measuring the available space are crucial steps in building custom shelving that fits your requirements perfectly.
- Gathering the Necessary Tools and Materials: Having the right tools and materials ensures a smooth building process and helps achieve the desired outcome for your custom shelving project.
The Benefits of Custom Shelving
The Benefits of Custom Shelving
Incorporating custom shelving into your home offers numerous advantages. Not only does it enhance the functionality and aesthetics of your living space, but it also provides a range of benefits that can greatly improve your storage solutions.
One of the key benefits of custom shelving is the maximized space it offers. By utilizing every inch of available space, custom shelving ensures efficient storage and organization. This means that you can make the most of your storage areas, even in smaller or awkwardly shaped spaces.
Another advantage of custom shelving is the level of personalization it provides. Unlike standard shelving options, custom shelving allows you to design a storage solution that suits your specific needs and style. Whether you prefer open shelves, closed cabinets, or a combination of both, custom shelving can be tailored to meet your preferences.
Custom shelving also optimizes functionality by accommodating specific items. With custom shelves, you can design spaces that are specifically designed to hold certain items, making them easier to access and use. Whether it’s displaying your collection of books, organizing your shoes, or storing your kitchen utensils, custom shelving ensures that everything has its designated place.
Furthermore, custom shelving promotes enhanced organization. Custom shelving systems often include adjustable shelves, drawers, and dividers, allowing you to create a neat and organized storage space. Adjust the shelves to fit different-sized items, use drawers to keep small items contained, and utilize dividers to separate categories or sections. With custom shelving, you can maintain a clutter-free environment and easily find what you need.
Lastly, custom shelving is aesthetically pleasing and adds cohesion to your home’s decor. Unlike generic shelving options, custom shelving can be designed to harmonize with your existing interior design. Whether you prefer a sleek and modern look or a rustic and traditional style, custom shelving can complement your home’s decor and contribute to a cohesive and stylish space. For a DIY guide on building custom shelving for your home, check out this guide.
In fact, a recent survey revealed that 89% of homeowners with custom shelving reported increased satisfaction with their storage solutions. This statistic highlights the numerous benefits and advantages that custom shelving can bring to your home.
Assessing Your Needs and Space
Assessing your needs and space is the crucial first step in building custom shelving for your home. From determining what you need to store to measuring the space available, and identifying your design preferences, this section will guide you through the essential aspects of creating functional and stylish storage solutions. So, let’s dive in and discover how to tailor your shelving project specifically to suit your requirements and maximize the potential of your space!
Determining What You Need to Store
Determining what you need to store is crucial when building custom shelving for your home. Here are the steps to follow:
1. Assess your belongings: Take inventory of the items you plan to store on the shelves, such as books, decorative items, kitchen supplies, clothes, etc.
2. Categorize items: Group similar items together by function or type. This will help determine the size and number of shelves needed for each category.
3. Consider size and weight: Determine the dimensions and weight of the items to be stored. This will help determine the depth and sturdiness of the shelves needed to support the items properly.
4. Identify special requirements: Some items may require special storage. For example, fragile items may need adjustable or enclosed shelves for protection, while tall items may require taller shelves or specialized storage.
5. Estimate the quantity: Based on the number of items in each category, estimate the number of shelves needed. This will help determine the size and layout of your custom shelving system.
By following these steps, you can accurately determine what you need to store and plan your custom shelving accordingly.
Measuring the Space for Your Shelving
Measuring the space for your shelving is crucial when building custom shelving for your home. Follow these steps:
1. Clear the area: Remove any items or furniture obstructing accurate measurements.
2. Prepare the measuring tools: Gather a tape measure or ruler for precise measurements.
3. Measure the width: Measure the wall’s width where the shelving will be installed, noting the measurement.
4. Measure the height: Determine the desired height by measuring from floor to ceiling, recording the measurement.
5. Measure the depth: Decide on the shelving’s depth by measuring how far it will extend from the wall, writing down the measurement.
6. Consider any obstructions: Take note of outlets, switches, or other obstacles that may affect shelving placement or design.
Once you’ve measured the space, proceed with building and installing your customized shelves. Double-check measurements for a perfect fit.
Identifying Your Design Preferences
When identifying design preferences for custom shelving, follow these steps:
1. Consider the style of your home and furniture. The shelving should complement the overall aesthetic.
2. Think about the purpose of the shelving. Will it be used for storage, display, or both? This will impact the design and layout.
3. Determine the size and dimensions of the shelving. Measure the height, width, and depth to ensure it fits your space and storage needs.
4. Decide on the material for the shelving. Options include wood, metal, glass, or a combination. Consider durability and visual appeal.
5. Choose the color or finish of the shelving. Coordinate it with the room and enhance the overall design.
6. Consider the shelving configuration. Would you like open shelves, closed cabinets, or a mix of both? Think about functionality and the items you’ll store.
7. Think about additional features or design elements you might want, such as adjustable shelves, built-in lighting, or decorative accents.
8. Take into account your personal preferences and tastes. Do you prefer clean lines and minimalist designs, or more ornate styles?
9. Consider any budgetary constraints or limitations. Balancing design preferences with practicality and affordability is important.
10. Consult with a professional or gather inspiration from design magazines, websites, or social media to refine your design preferences.
Gathering the Necessary Tools and Materials
Get ready to roll up your sleeves and dive into the exciting world of building custom shelving for your home! In this section, we’ll focus on the essential first steps – gathering the necessary tools and materials. Discover the must-have tools that will help you bring your shelving vision to life, along with the key materials required to build sturdy and stylish custom shelving. So, grab your measuring tape and get ready to embark on a creative journey of DIY shelving perfection!
Tools Needed for Building Custom Shelving
Tools Needed for Building Custom Shelving
The tools for building custom shelving include:
- Measuring tape: Accurately measure the dimensions of the space where the shelving will be installed.
- Level: Ensure straight and properly aligned shelving.
- Saw: Cut the shelving material to the desired size.
- Drill: Make holes for screws or other fasteners.
- Screwdriver: Tighten screws or other fasteners.
- Sanding block or sander: Smooth out any rough edges or surfaces on the shelving material.
- Clamps: Hold pieces of the shelving together while assembling.
- Stud finder: Locate wall studs for additional support.
- Safety goggles and gloves: Wear to protect against potential hazards while working.
By having these tools, you can build your own custom shelving according to your design preferences and needs.
Materials Required for Custom Shelving
To create custom shelving for your home, it is important to gather all the necessary materials.
These materials include sturdy wood or shelving material like plywood or solid wood for the main shelves.
Additionally, brackets for support may also be needed.
To attach the shelves and other components, choose the appropriate size and type of screws or nails for your chosen materials.
Accurate measurements are crucial for a custom fit, so make sure to use a measuring tape to measure your space and the length of the shelves.
Depending on the complexity of your design, power tools such as a drill, saw, or sander might be required to make cutting, drilling, and finishing easier.
To ensure that your shelves are straight and properly aligned, use a level to prevent tilting or instability.
For a professional look, smooth out any rough edges or surfaces on your shelves by using sandpaper or a sanding block.
If desired, you can also finish your shelves with paint or stain to enhance their appearance and protect the wood.
By gathering all these materials before starting your custom shelving project, you’ll be able to create functional and stylish storage solutions for your home.
Designing Your Custom Shelving
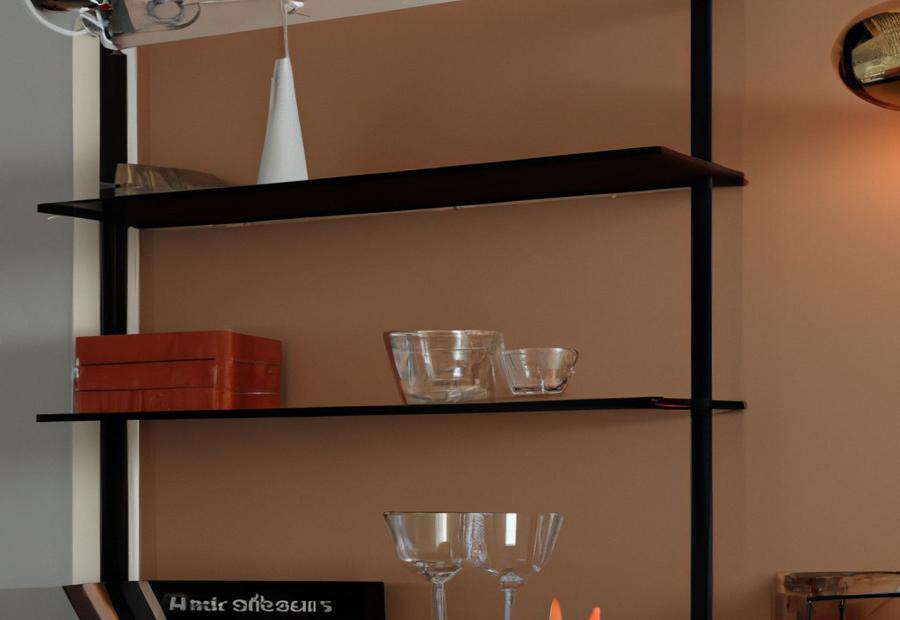
Photo Credits: Build-Wire.Com by Michael Rivera
When it comes to designing custom shelving for your home, there are two key aspects to consider: sketching out your design and carefully balancing aesthetics with functionality. In this section, we’ll dive into the exciting world of creating personalized shelving solutions. We’ll explore the importance of sketching out your design, allowing your imagination to take form on paper. Additionally, we’ll discuss the vital considerations of striking the perfect balance between aesthetics and functionality to ensure your custom shelves not only look great but also serve their purpose efficiently.
Sketching Out Your Design
1. Begin the process of designing your custom shelving by measuring the dimensions of the designated area.
2. Utilize either a ruler or measuring tape to accurately determine the length, width, and height of the space.
3. Take into consideration the specific items that you intend to store on the shelving and assess their individual sizes and shapes.
4. Create a preliminary sketch of the overall layout of the shelving system, considering any pre-existing elements such as windows or doors.
5. Determine the appropriate number of shelves needed for your storage requirements and plan their placement accordingly.
6. Sketch out the dimensions of each shelf, including the width, length, and height.
7. Explore the possibility of additional design elements or features, such as drawers, cabinets, or decorative accents.
8. Experiment with various configurations and layouts to maximize the available storage space while also catering to your personal aesthetic preferences.
9. Label your sketch with precise measurements to have a handy reference throughout the construction and installation process.
Fact: Engaging in careful planning and thorough sketching prior to constructing custom shelving ensures that the final outcome not only fulfills your storage needs but also fits flawlessly within the designated space.
Considering the Aesthetics and Functionality
When designing and constructing customized shelving for your home, it is important to always keep in mind both the aesthetics and functionality of the shelves. The shelves should not only be visually appealing but should also effectively serve their intended purpose.
In terms of aesthetics, it is crucial to select a design that complements the overall style and theme of your home. Additionally, carefully consider the color and finish of the shelves in order to perfectly match the existing interior decor. You can also enhance the visual appeal by incorporating decorative elements such as molding or trim. Furthermore, it is important to ensure that the shelves seamlessly blend with the surrounding furniture and the overall layout of the room.
When it comes to functionality, it is vital to ensure that the shelves are sturdy and capable of supporting the weight of the items you plan to store on them. Take into account the size and depth of the shelves so that they can accommodate various items of different sizes. It is also a good idea to plan the arrangement of the shelves in order to maximize storage space and accessibility. Consider integrating features such as adjustable shelves or modular components to enhance versatility.
By diligently considering both the aesthetics and functionality, you can create a storage solution for your home that not only looks visually pleasing but is also highly practical and efficient.
Building Your Custom Shelving
Photo Credits: Build-Wire.Com by Jesse Hernandez
Ready to embark on your DIY project? In the “Building Your Custom Shelving” section, we’ll guide you through the process step-by-step. From preparing the wood or other materials to cutting and assembling the shelving components, we’ve got you covered. And don’t forget the final touch – sanding and finishing the shelving to perfection. Get ready to transform your space with functional and stylish shelves created by your own hands. Let’s dive in!
Preparing the Wood or Other Materials
To properly prepare the wood or other materials for building custom shelving, you should follow these steps:
1. Start by measuring and cutting the wood or materials to your desired dimensions.
2. Smooth any rough edges or surfaces using sandpaper.
3. Take a look for imperfections or knots in the wood and fill them with wood filler or putty.
4. Give the filler or putty enough time to completely dry, then sand it down until it becomes smooth and level with the rest of the surface.
5. In order to prevent staining or damage, it is important to prime the wood or materials.
6. Enhance the appearance and protect the wood from wear and tear by applying paint or stain.
7. Before proceeding with assembly, make sure to allow the paint or stain to dry according to the manufacturer’s instructions.
8. Ensure that the brackets or other hardware are clean and free from rust or corrosion.
9. Attach the necessary brackets or hardware to the wood or materials prior to assembling the shelving.
10. Double-check that all materials are properly prepared and ready for assembly before proceeding.
By thoroughly preparing the wood or other materials, you can guarantee the durability and aesthetic appeal of your custom shelving.
Cutting and Assembling the Shelving Components
Cutting and Assembling the Shelving Components
When cutting and assembling the shelving components for your custom shelving, follow these steps:
-
Measure the length and width of the wood or other materials for the shelves.
-
Use a measuring tape and a straight edge to mark the measurements on the materials.
-
Carefully cut the materials along the marked lines using a saw or a circular saw.
-
Ensure smooth and splinter-free edges by sanding them with sandpaper or an electric sander.
-
Determine the desired spacing between multiple shelves.
-
Attach brackets or supports to the walls where the shelves will be installed using a drill or screws.
-
Place the cut materials on the brackets or supports, ensuring they are level.
-
Secure the shelves in place by screwing them onto the brackets or supports.
-
Double-check the sturdiness and security of the shelves before placing any items on them.
Sanding and Finishing the Shelving
Sanding and Finishing the Shelving
– Prepare the surface: Clean shelves before sanding.
– Select the right sandpaper: Use coarse grit (around 80-120) for initial sanding and finer grit (around 220-320) for a smoother finish.
– Sand the shelves: Sand in the direction of the grain with broad, even strokes.
– Smooth out the edges: Use a sanding block or sandpaper wrapped around a block to create smooth and rounded edges.
– Remove dust: Use a clean cloth or vacuum to remove dust particles.
– Choose the right finish: Consider desired look and functionality (stain, paint, or clear sealant).
– Apply the finish: Use a brush or cloth to apply the finish evenly. Follow the grain and apply multiple coats if needed.
Did you know that sanding the shelves before finishing enhances their appearance?
Installing Your Custom Shelving
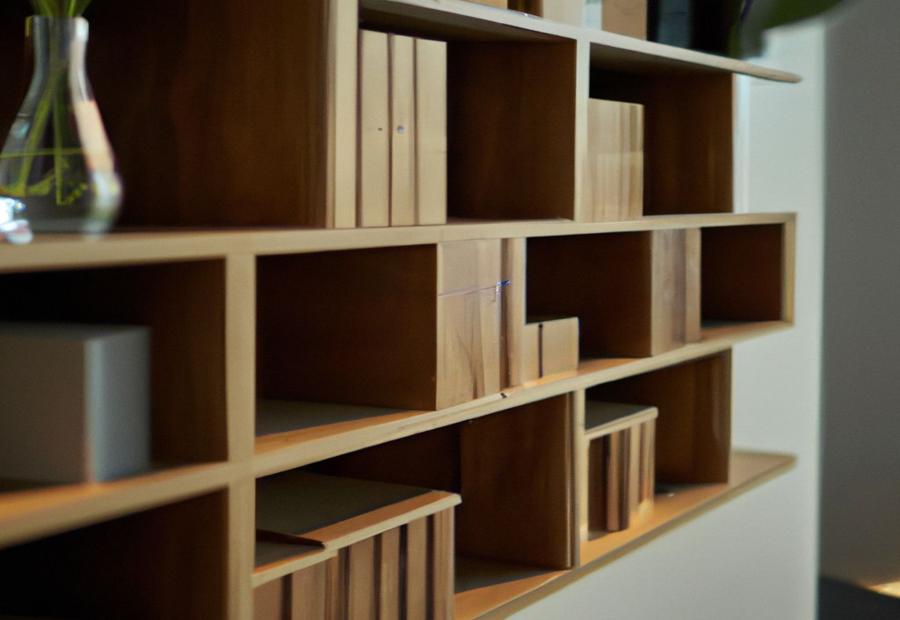
Photo Credits: Build-Wire.Com by Ryan Harris
Installing your custom shelving is a crucial step in bringing your DIY project to life. Whether you’re a seasoned builder or a beginner, this section will guide you through the process with expert tips and tricks. Discover the importance of locating wall studs or using anchors for a secure installation. Plus, learn the best techniques for attaching your shelving to the wall, ensuring durability and functionality. Get ready to transform your space with sturdy and stylish custom shelving!
Locating Wall Studs or Using Anchors
To effectively locate wall studs or use anchors for installing custom shelving, follow these steps:
- Utilize a stud finder or a magnetic tool to effortlessly locate wall studs. Simply move the tool along the wall until it successfully detects a stud.
- Using a pencil or masking tape, make clear marks indicating the precise locations of the studs.
- If, for any reason, you are unable to locate the studs, resort to using wall anchors. Proceed by drilling holes into the desired shelving location, taking care to ensure that they are both level and properly spaced.
- Insert the wall anchors firmly into the pre-drilled holes. Make use of a hammer to gently tap them until they are adequately flush with the wall.
- Securely attach the shelving brackets or supports to either the studs or the anchors, depending on the provided hardware, making use of screws or bolts.
- Double-check the levelness of the shelving to ensure that it is perfectly straight and evenly balanced.
- Test the stability of the shelving by applying pressure or adding weight to see if it can reliably support the intended load.
- Once you are confident in the installation, proceed to complete the custom shelving project by following the remaining steps.
By diligently following these steps, you can successfully locate wall studs or use anchors to guarantee the stability and durability of your custom shelving.
Attaching the Shelving to the Wall
Attaching the shelving to the wall is an essential and crucial step in constructing personalized shelving for your residence. To accomplish this, follow the following step-by-step instructions:
1. To ensure proper support, locate the wall studs or utilize anchors.
2. Determine and designate the desired height for your shelving.
3. Hold the first shelf bracket against the wall at the designated height.
4. Employ a level to ensure the bracket is perfectly horizontal and aligned.
5. Identify the screw hole placements on the wall by marking them through the bracket holes.
6. Proceed to drill pilot holes at the designated locations on the wall.
7. Use screws and a screwdriver or drill to securely fasten the first shelf bracket to the wall.
8. Repeat steps 3 to 7 for the remaining shelf brackets.
9. Carefully place the shelves onto the brackets and verify that they are level.
10. Safely secure the shelves to the brackets using screws or other appropriate fasteners.
To guarantee a secure and sturdy installation, it is crucial to select the appropriate hardware and carefully adhere to the manufacturer’s instructions. Make it a habit to regularly inspect and tighten the screws to maintain the stability of your personalized shelving. Proper installation will not only provide functional benefits but also enhance the aesthetic appeal of your home.
Maintaining and Upgrading Your Custom Shelving
Let’s dive into the realm of maintaining and upgrading your custom shelving. In this section, we’ll uncover the secrets to keeping your shelving spotless and perfectly organized. Additionally, we’ll explore the possibilities of enhancing your shelving with extra features or tweaking its design to suit your evolving needs. Get ready to transform your shelving from ordinary to extraordinary!
Cleaning and Organizing the Shelving
To effectively clean and organize the shelving, it is important to follow these steps for cleaning and organizing the shelves. Begin by removing all items from the shelves. Then, use a damp cloth to wipe down the shelves and eliminate any dust or debris. Next, thoroughly clean the shelves using a mild cleaning solution, ensuring to reach all corners and edges. Rinse the shelves with clean water to remove any residue from the cleaning solution. Dry the shelves either by using a clean cloth or allowing them to air dry. After that, it is necessary to sort through the items on the shelves and declutter as needed, discarding any items that are no longer required or in poor condition. To make future access easier, organize the remaining items by category or use. Storage bins or containers can be utilized to further enhance the organization of smaller or grouped items. To maintain the designated place for each item, label the shelves or containers accordingly. Lastly, it is recommended to regularly clean and maintain the shelving by wiping down the surfaces and organizing items as needed. By following these steps, you can ensure that your shelves are clean and well-organized, making it convenient to locate and access items whenever necessary.
Adding Additional Features or Adjusting the Design
When building custom shelving for your home, consider incorporating additional features or making adjustments to the design. Here are some suggestions:
- – Adding adjustable shelves: Customize the storage space by easily moving the shelves up or down to accommodate items of different sizes.
- – Installing lighting: Enhance visibility and aesthetics with LED strip lights or under-shelf puck lights.
- – Using decorative hardware: Choose stylish knobs, handles, or pulls that complement the room’s design aesthetic.
- – Adding a back panel: Provide stability and prevent items from falling off the back by installing a matching or contrasting material.
- – Incorporating hooks or hanging rods: Add convenient storage for clothing, bags, or accessories, especially in closets or entryways.
Remember, you can tailor these suggestions to your specific needs and design preferences. By adding additional features or adjusting the design, you can create custom shelving that offers functional storage and visual appeal.
Some Facts About DIY Guide: Building Custom Shelving for Your Home:
- ✅ Many old homes have beautiful built-in shelves and cabinets, but newer homes often lack this feature. (Source: homedit.com)
- ✅ Built-in shelves can be used in various interior design ideas, such as creating book nooks in bedrooms or framing fireplaces and windows in living rooms. (Source: homedit.com)
- ✅ IKEA bookshelves can be reused and transformed into a DIY built-in bookcase. (Source: homedit.com)
- ✅ Custom built-in shelves can be tailored to fit specific requirements and sizes. (Source: homedit.com)
- ✅ Recessed wall shelves are ideal for small spaces, such as bathrooms, where storage is needed without protruding shelves. (Source: homedit.com)
Frequently Asked Questions
FAQs for DIY Guide: Building Custom Shelving for Your Home
1. How can I maximize storage space in a room with bay windows?
One solution for maximizing storage space in a room with bay windows is to build built-in shelves between the windows. This utilizes the empty wall space and creates a functional and visually appealing storage solution.
2. What tools do I need to build custom shelves?
You will need a combination of basic tools and specialized equipment. Some of the essential tools include a cordless drill, table saw or circular saw, chop saw or circular saw, paint supplies, safety glasses, and a caulk gun, among others.
3. Can I use store-bought shelves for my custom shelving project?
Yes, you can use store-bought shelves as part of your custom shelving project. By combining store-bought shelves with other elements like trim boards and shelf supports, you can create a customized and professional look.
4. How can I achieve a clean and polished look for my custom shelves?
To achieve a clean and polished look for your custom shelves, it’s important to pay attention to details like precise measurements, cutting of trim boards, and filling any gaps with caulk. This will help create a seamless and professional finish.
5. Can I build custom shelves without any previous woodworking experience?
Yes, you can build custom shelves even without previous woodworking experience. Following detailed guides and tutorials, using the right tools, and taking the time to plan and measure accurately can help you successfully complete the project.
6. How can I add a touch of traditional elements to contemporary design with custom shelves?
To add a touch of traditional elements to a contemporary design with custom shelves, you can incorporate crown molding or crown moulding to the shelves. This can help enhance the overall aesthetic and create a cohesive look with other traditional elements in the room.