Are you constantly annoyed by a leaking toilet and unsure of how to fix it? Look no further! We have all the answers you need to put an end to this frustrating problem. In this article, we will explore the common causes of a leaking toilet and provide you with practical solutions to tackle the issue head-on. Say goodbye to wasted water and the incessant sound of dripping – it’s time to take charge and fix that leaking toilet once and for all!
Identifying a Leaking Toilet
Visual inspection
To identify a leaking toilet, one of the first steps is to visually inspect the toilet for any visible signs of leakage. Check for water puddles around the base of the toilet, dampness on the floor, or any discoloration on the walls or baseboards near the toilet. Additionally, inspect the tank and bowl for any cracks or visible damage that could be causing the leak.
Listening for sounds
Another way to identify a leaking toilet is by listening for sounds. If you hear a continuous hissing sound coming from the toilet tank, it could indicate a leak. This sound is usually caused by water leaking from the tank into the bowl.
Checking water levels
Checking the water levels in the toilet tank is another method to identify a leak. Simply remove the tank lid and observe the water level. If the water level is continuously dropping when the toilet is not being flushed, it is likely there is a leak somewhere in the toilet.
Common Causes of Toilet Leaks
Worn out flapper valve
One common cause of a leaking toilet is a worn out flapper valve. The flapper valve is a rubber component that controls the flow of water from the tank to the bowl during a flush. Over time, the flapper valve can deteriorate or become damaged, causing it to not seal properly. This can result in water constantly flowing from the tank to the bowl, leading to a leak.
Faulty fill valve
Another common cause of a toilet leak is a faulty fill valve. The fill valve is responsible for refilling the tank after each flush. If the fill valve is malfunctioning, it may not shut off properly, causing water to constantly fill the tank and overflow into the overflow tube. This continuous flow of water can lead to a leak.
Cracked tank or bowl
A cracked tank or bowl can also lead to a toilet leak. Cracks in the tank or bowl can occur due to age, impact, or poor installation. When there are cracks present, water can seep out and cause leakage. It is important to inspect the tank and bowl for any cracks and address them promptly to prevent further damage and leakage.
Loose or damaged supply line
The supply line connects the toilet tank to the water supply. If the supply line is loose or damaged, it can result in a leak. Loose connections can cause water to seep out, while damaged supply lines can develop cracks or leaks. Inspecting and ensuring the supply line is properly connected and in good condition is crucial to prevent leakage.
Incorrectly installed wax ring
The wax ring is a seal that is placed between the toilet base and the flange on the floor. If the wax ring is incorrectly installed or damaged, it can cause leaks around the base of the toilet. This can occur during the initial installation or if the toilet has been removed and reinstalled. Properly installing or replacing the wax ring is necessary to create a watertight seal and prevent leaks.


This image is property of images.unsplash.com.
Fixing a Leaking Flapper Valve
Shutting off water supply
Before fixing a leaking flapper valve, it is important to shut off the water supply to the toilet. Locate the water shut-off valve, usually located near the base of the toilet, and turn it clockwise to close it. This will stop the flow of water to the toilet.
Draining the tank
To drain the toilet tank, flush the toilet and hold down the handle to allow all the water to empty from the tank. Use a sponge or towel to soak up any remaining water in the tank.
Removing old flapper valve
Once the tank is drained, remove the old flapper valve by disconnecting it from the overflow tube and unhooking any chains or attachments.
Installing a new flapper valve
Install a new flapper valve by attaching it to the overflow tube and ensuring it sits properly on the flush valve seat. Make sure all connections are secure.
Testing for leaks
Turn the water supply back on and let the tank fill. Observe if there is any water leaking from the flapper valve. If there are no leaks, flush the toilet to ensure proper functionality. If there are still leaks, check the positioning and tightness of the flapper valve or consider replacing it with a different brand or style.
Repairing a Faulty Fill Valve
Turning off water supply
As with any toilet repair, start by turning off the water supply to the toilet by locating and closing the water shut-off valve.
Emptying the tank
Flush the toilet and hold down the handle to empty the tank of any residual water. Soak up any remaining water with a sponge or towel.
Adjusting or replacing the fill valve
To repair a faulty fill valve, first try adjusting it. This can be done by adjusting the float mechanism or adjusting the water level in the tank using the adjustment screw on the fill valve. If adjusting the fill valve does not resolve the issue, it may need to be replaced. Follow the manufacturer’s instructions for installation or call a professional if needed.
Testing for proper functionality
Once the fill valve has been adjusted or replaced, turn the water supply back on and let the tank fill. Observe if the fill valve shuts off properly and there are no leaks. Test the toilet by flushing it multiple times to ensure proper functionality.


This image is property of images.unsplash.com.
Replacing a Cracked Tank or Bowl
Shutting off water supply
To replace a cracked tank or bowl, start by shutting off the water supply to the toilet using the water shut-off valve.
Emptying the tank and bowl
Flush the toilet and hold down the handle to empty the tank. Use a sponge or towel to soak up any remaining water. To empty the bowl, use a plunger or bucket to remove the water.
Disconnecting and removing the old tank or bowl
Disconnect any water supply lines, bolts, or attachments connecting the tank or bowl to the rest of the toilet. Carefully lift and remove the old tank or bowl.
Installing a new tank or bowl
Install the new tank or bowl by following the manufacturer’s instructions. Ensure all connections are secure and properly tightened.
Reconnecting water supply
Reconnect the water supply lines, bolts, or attachments to the new tank or bowl. Double-check all connections to ensure a tight seal.
Testing for leaks
Turn on the water supply and let the tank fill. Check for any leaks around the connections. Once the tank is filled, flush the toilet and observe for any leaks. If there are no leaks, the new tank or bowl has been successfully installed.
Tightening or Replacing a Loose or Damaged Supply Line
Shutting off water supply
As always, start by shutting off the water supply to the toilet using the water shut-off valve.
Draining the tank and bowl
Flush the toilet and hold down the handle to empty the tank. Use a sponge or towel to soak up any remaining water. Remove the water from the bowl using a plunger or bucket.
Tightening or replacing the supply line
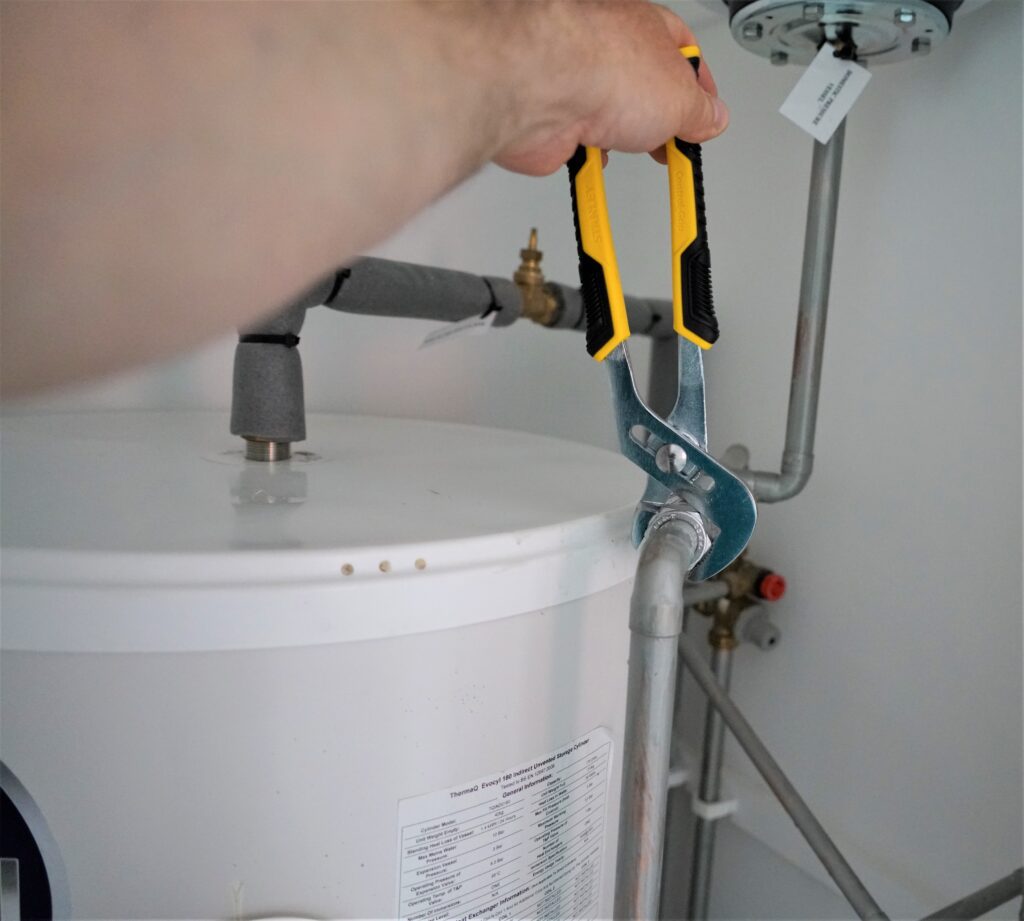
Inspect the supply line for any loose connections or visible damage. If connections are loose, use pliers to tighten them. If the supply line is damaged, it may need to be replaced. Consult a professional or follow the manufacturer’s instructions for replacement.
Refilling and testing for leaks
With the supply line tightened or replaced, turn on the water supply and let the tank fill. Check for any leaks at the connections. Flush the toilet multiple times to ensure there are no further leaks.


This image is property of images.unsplash.com.
Fixing an Incorrectly Installed Wax Ring
Emptying the tank and bowl
Start by emptying the tank by flushing the toilet and holding down the handle. Soak up any remaining water with a sponge or towel. Remove the water from the bowl using a plunger or bucket.
Disconnecting the toilet
Turn off the water supply to the toilet using the water shut-off valve. Disconnect the water supply line from the tank. Loosen and remove the bolts securing the toilet to the floor.
Removing the old wax ring
Carefully lift the toilet from the flange on the floor. Remove the old wax ring by scraping it off the flange and the bottom of the toilet.
Installing a new wax ring
Place a new wax ring on the flange, ensuring it is centered and properly aligned. Gently lower the toilet onto the wax ring, making sure the bolts on the flange pass through the holes in the toilet base.
Reattaching the toilet
Securely fasten the toilet to the floor by tightening the bolts. Reconnect the water supply line to the tank.
Testing for leaks
Turn on the water supply and let the tank fill. Check for any leaks around the base of the toilet. Flush the toilet multiple times to ensure there are no leaks. If there are still leaks, consult a professional for further assistance.
Dealing with Persistent Leaks
Checking water pressure
Persistent leaks in a toilet could be a result of high water pressure. Check the water pressure in your home using a pressure gauge. If the pressure is above the recommended level, consider installing a pressure reducing valve to prevent leaks.
Inspecting the flush valve
If the toilet continues to leak, inspect the flush valve for any damage or misalignment. The flush valve is responsible for releasing water into the bowl during a flush. If it is not sealing properly, it can result in leaks. Consider replacing the flush valve if necessary.
Examining the tank bolts
Check the tank bolts for tightness and signs of damage. Loose or damaged tank bolts can cause leaks. Tighten any loose bolts or replace them if necessary. Ensure the tank is properly secured to prevent leaks.
Checking the toilet base
Inspect the base of the toilet for any cracks or damage. Cracks in the toilet base can lead to leaks. If any cracks are found, consider replacing the entire toilet to eliminate the possibility of future leaks.
Preventive Maintenance to Avoid Leaks
Regularly inspecting the toilet
To prevent leaks, make it a habit to regularly inspect your toilet for any signs of damage or wear. Check for water puddles, dampness, or discoloration around the base. Look for cracks or visible damage in the tank and bowl. Detecting and addressing any issues early can prevent leaks in the future.
Replacing worn out parts
Over time, certain parts of the toilet may become worn out and increase the risk of leaks. Regularly check and replace components such as the flapper valve, fill valve, wax ring, and supply line if they show signs of deterioration. Maintaining these parts in good condition can help prevent leakage.
Avoiding excessive force
Avoid using excessive force when operating the toilet handle. Pushing or pulling too hard on the handle can damage the flapper valve or other internal components, leading to leaks. Use gentle pressure and avoid abrupt movements to prolong the lifespan of your toilet.
Properly tightening connections
Regularly check and tighten any connections in the toilet, such as supply lines, bolts, and fittings. Loose connections can lead to leaks. Ensure all connections are properly tightened to maintain a watertight seal and prevent leakage.
When to Seek Professional Help
Complex or extensive leaks
If you are experiencing complex or extensive leaks that are beyond your expertise, it is advisable to seek professional help. Plumbers have the necessary knowledge and experience to identify and fix complicated leaks that may require specialized tools or techniques.
Lack of plumbing knowledge
If you have limited knowledge about plumbing systems and repairs, it is best to consult a professional. Attempting to fix a leaking toilet without adequate knowledge can lead to further damage or improper repairs, risking more extensive leakage problems.
Limited time or resources
If you do not have enough time or resources to fix the leaking toilet yourself, it makes sense to hire a professional. Plumbers can efficiently diagnose and fix the issue, saving you time and ensuring the problem is resolved correctly.
By following these guidelines, you can identify and resolve common causes of toilet leaks. Whether it’s a worn out flapper valve, faulty fill valve, cracked tank or bowl, loose supply line, or incorrectly installed wax ring, with a little know-how and some basic tools, you can fix most toilet leaks yourself. However, if the problem persists or seems too complex, it’s always best to call a professional plumber to ensure a proper and long-lasting solution. Regular inspection and preventive maintenance will also help you avoid future leaks, saving you from potential water damage and costly repairs.
